Please upgrade your Keptn to a newer release.
Home / Docs / Release 0.5.2 / Reference / Keptn CLI
Keptn CLI
In this section, the functionality and commands of the Keptn CLI are described. The Keptn CLI allows installing, configuring, and uninstalling Keptn. Furthermore, the CLI allows creating projects, onboarding services, and sending new artifact events.
Prerequisites
- All prerequisites from the setup are needed.
Install the Keptn CLI
Every release of Keptn provides binaries for the Keptn CLI. These binaries are available for Linux, macOS, and Windows.
- Download the version matching your operating system
- Unpack the download
Find the
keptnbinary in the unpacked directory.- Linux / macOS
add executable permissions (
chmod +x keptn), and move it to the desired destination (e.g.mv keptn /usr/local/bin/keptn)- Windows
move/copy the executable to the desired folder and, optionally, add the executable to the PATH environment variable for a more convenient experience.
- Linux / macOS
Now, the Keptn CLI help can be shown by:
keptn --help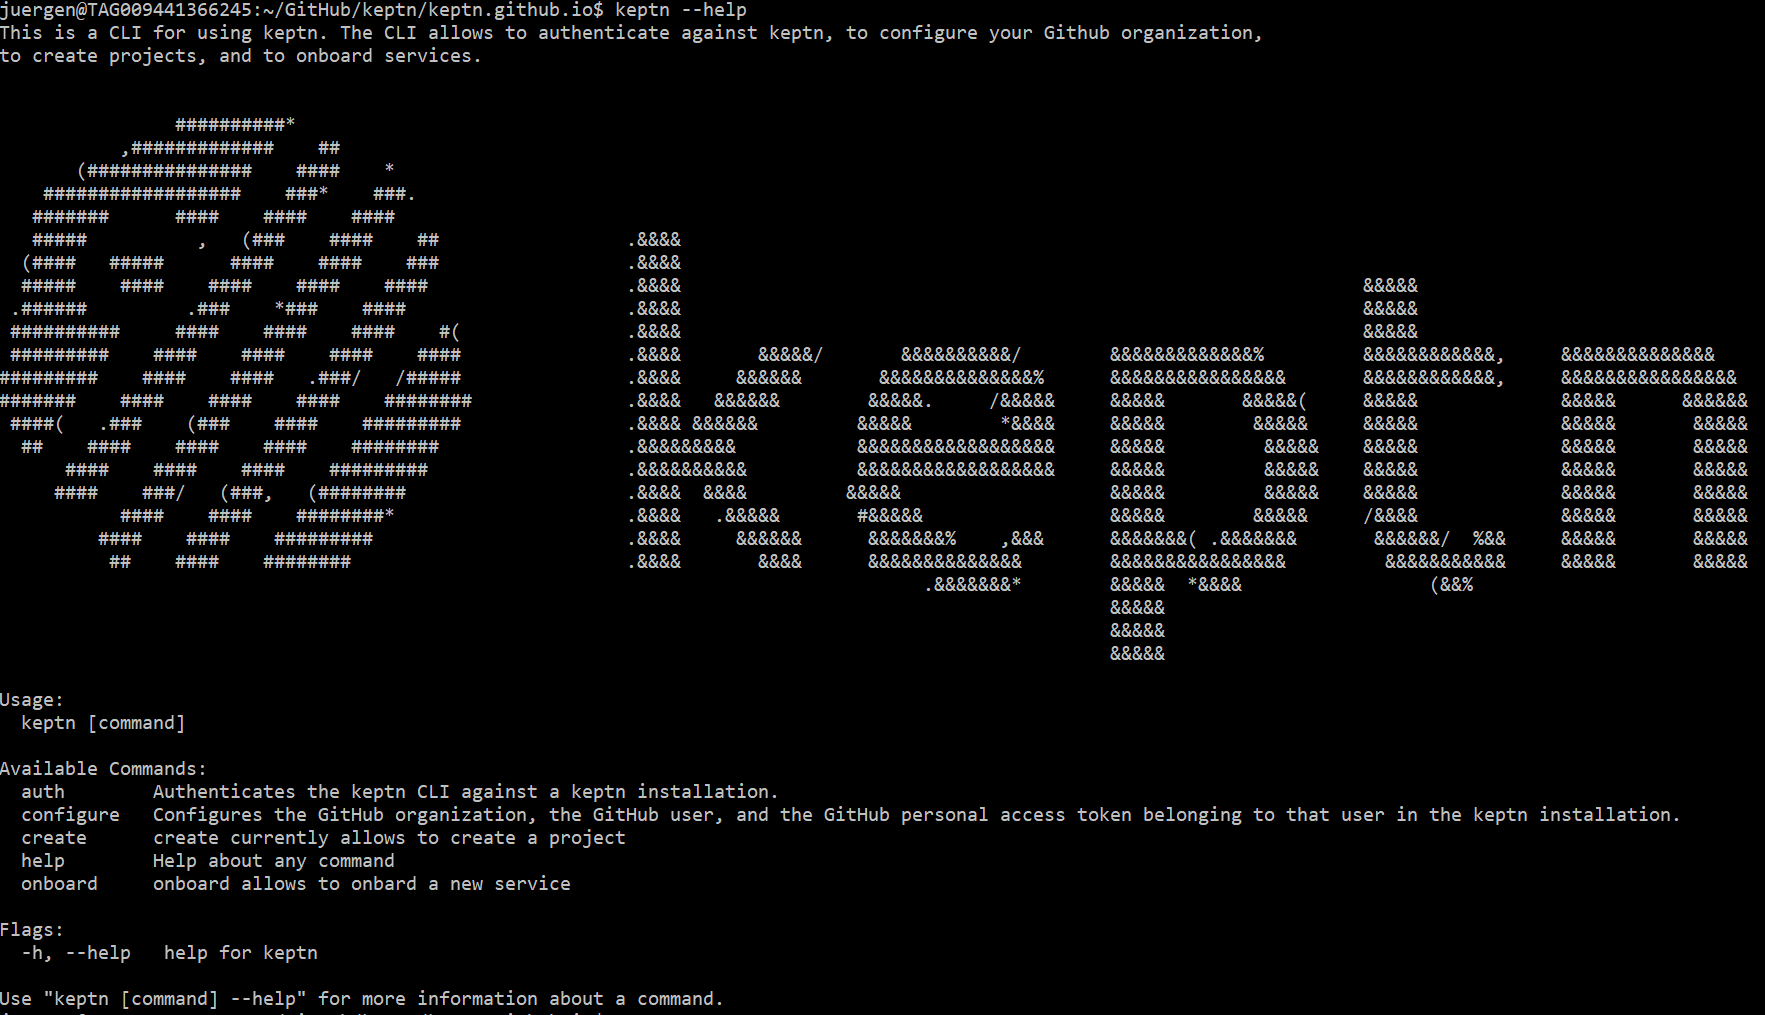
Keptn CLI
Start using the Keptn CLI
In the following, the commands provided by the Keptn CLI are described.
All of these commands provide a help flag (--help), which describes details of the respective command (e.g., usage of the command or description of flags).
Note: In the current version, Keptn is missing checks whether the sent command is executed correctly. In order to guarantee the expected behavior, please strictly use the following commands in the specified order. In future releases, we add additional checks whether the executed commands succeeded or failed.
keptn install
The Keptn CLI allows to install Keptn on an Azure Kubernetes Services (AKS), an Amazon Elastic Kubernetes Service (EKS), a Google Kubernetes Engine (GKE), and on OpenShift.
AKS:
keptn install --platform=aks --keptn-version=0.5.2EKS:
keptn install --platform=eks --keptn-version=0.5.2GKE:
keptn install --platform=gke --keptn-version=0.5.2PKS:
keptn install --platform=pks --keptn-version=0.5.2OpenShift:
keptn install --platform=openshift --keptn-version=0.5.2
keptn configure domain
The Keptn CLI allows to configure a custom domain. This is mandatory if xip.io cannot be used (e.g., when running Keptn on EKS, AWS will create an ELB).
Note: This command requires a kubernetes current context pointing to the cluster where you would like to configure your domain. After installing Keptn this is guaranteed.
keptn configure domain YOUR.CUSTOM.DOMAIN --keptn-version=0.5.2
keptn auth
Before the keptn CLI can be used, it needs to be authenticated against a keptn cluster. Therefore, an endpoint and an API token are required.
If the authentication is successful, keptn will inform the user and the endpoint as well as the API token are stored in a password store of the underlying operating system. More precisely, the keptn CLI stores the endpoint and API token using pass in case of Linux, using Keychain in case of macOS, or Wincred in case of Windows.
Set the needed environment variables. Authenticate to the Keptn cluster. Note: If you receive a warning For Linux / macOS
KEPTN_ENDPOINT=https://api.keptn.$(kubectl get cm keptn-domain -n keptn -ojsonpath={.data.app_domain})
KEPTN_API_TOKEN=$(kubectl get secret keptn-api-token -n keptn -ojsonpath={.data.keptn-api-token} | base64 --decode)
keptn auth --endpoint=$KEPTN_ENDPOINT --api-token=$KEPTN_API_TOKEN
Using a file-based storage for the key because the password-store seems to be not set up. this is because a password store could not be found in your environment. In this case, the credentials are stored in ~/.keptn/.password-store in your home directory.
Please expand the corresponding section matching your CLI tool. For the Windows PowerShell, a small script is provided that installs the Copy the following snippet and paste it in the PowerShell. The snippet will be automatically executed line by line. Now that everything we need is stored in environment variables, we can proceed with authorizing the Keptn CLI. To authenticate against the Keptn cluster, use the In the Windows Command Line, a couple of steps are necessary. Get the Keptn API Token encoded in base64 Take the encoded API token - it is the value from the key Decode the file Open the newly created file Get the Keptn cluster endpoint Copy the Now that everything we need is stored in environment variables, we can proceed with authorizing the Keptn CLI. To authenticate against the Keptn cluster, use the For Windows
PowerShell
PSYaml module and sets the environment variables. Please note that the PowerShell might have to be started with Run as Administrator privileges to install the module.
$tokenEncoded = $(kubectl get secret keptn-api-token -n keptn -ojsonpath='{.data.keptn-api-token}')
$Env:KEPTN_API_TOKEN = [System.Text.Encoding]::UTF8.GetString([System.Convert]::FromBase64String($tokenEncoded))
$Env:KEPTN_ENDPOINT = 'https://api.keptn.'+$(kubectl get cm -n keptn keptn-domain -ojsonpath='{.data.app_domain}')
auth command with the Keptn endpoint and API token:keptn.exe auth --endpoint=$Env:KEPTN_ENDPOINT --api-token=$Env:KEPTN_API_TOKEN
Command Line
kubectl get secret keptn-api-token -n keptn -ojsonpath={.data.keptn-api-token}
abcdefghijkladfaea
keptn-api-token (in this example, it is abcdefghijkladfaea) and save it in a text file, e.g., keptn-api-token-base64.txtcertutil -decode keptn-api-token-base64.txt keptn-api-token.txt
keptn-api-token.txt, copy the value and paste it into the next commandset KEPTN_API_TOKEN=keptn-api-token
kubectl get cm -n keptn keptn-domain -ojsonpath={.data.app_domain}
YOUR.DOMAIN
domain value and save it in an environment variableset KEPTN_ENDPOINT=https://api.keptn.YOUR.DOMAIN
auth command with the Keptn endpoint and API token:keptn.exe auth --endpoint=KEPTN_ENDPOINT --api-token=KEPTN_API_TOKEN
keptn create project
Option A: Create a project without Git upstream:
To create a new project, use the command
create projectand specify at least the name of the project as well as theshipyard.yamlfile (--shipyard) . Learn here more about writing a shipyard file.keptn create project PROJECTNAME --shipyard=FILEPATHOption B: Create a project using a Git upstream:
By executing the
create projectcommand, Keptn initializes an internal Git repository that is used to maintain all project-related resources. To upstream this internal Git repository to a remote repository, the Git user (--git-user), an access token (--git-token), and the remote URL (--git-remote-url) are required. If you miss one of the requirements, go to select Git-based upstream where instructions for GitHub, GitLab, and Bitbucket are provided.keptn create project PROJECTNAME --shipyard=FILEPATH --git-user=GIT_USER --git-token=GIT_TOKEN --git-remote-url=GIT_REMOTE_URL
keptn delete project
To delete a project, use the command delete project and specify the project name.
keptn delete project PROJECTNAME
Note: If a Git upstream is configured for this project, the referenced repository or project will not be deleted. Besides, deployed services are also not deleted by this command.
keptn onboard service
To onboard a service, use the command onboard service and provide the service name, project name (--project flag), and the root directory of a Helm chart (--chart flag).
keptn onboard service SERVICENAME --project=PROJECTNAME --chart=FILEPATH
If an archived Helm chart is already available, the archive with ending .tgz can be referenced. In this case, the Helm chart will be stored unpacked.
keptn onboard service SERVICENAME --project=PROJECTNAME --chart=HELM_CHART.tgz
To learn more about onboarding a service, please see the Onboarding a Service tutorial.
keptn add-resource
To add a resource to the configuration store (i.e., Git repository) of a service, the add-resource command is provided. This command takes a local resource (--resource) and stores it for further use in Keptn. Thus, this command allows adding, for example, test files to a service, which will then be executed by a test-service (e.g., jmeter-service) during the continuous delivery.
keptn add-resource --project=PROJECTNAME --stage=STAGE --service=SERVICENAME --resource=jmeter/basiccheck.jmx
keptn configure monitoring
To configure a monitoring solution for a Keptn cluster, the configure monitoring command is provided. This command sets up monotoring in case it is not installed yet. Afterwards, the command configures the monitoring solution for a service based on the provided service indicators (--service-indicators), and service objectives (--service-objectives). The currently supported monitoring solution is Prometheus, as shown below:
keptn configure monitoring prometheus --project=PROJECTNAME --service=SERVICENAME --service-indicators=service-indicators.yaml --service-objectives=service-objectives.yaml --remediation=remediation.yaml
keptn send event new-artifact
After onboarding a service, the Keptn CLI allows to trigger the deployment of an artifact.
This artifact is a Docker image, which can be located at Docker Hub, Quay, or any other container registry which is accessible from within the cluster. The new artifact is pushed in the first stage specified in the shipyard.yaml file (usually this will be the dev stage). Afterwards, Keptn takes care of deploying this new artifact to the other stages.
For notifying Keptn to deploy a new artifact for a service, use the command send event new-artifact.
The CLI sends a new-artifact-event containing the image name and tag (not the image itself) to Keptn and then Keptn takes care
of deploying this new artifact.
This command takes the project (--project), the service (--service), as well as the image (--image) and tag (--tag) of the new artifact.
keptn send event new-artifact --project=PROJECTNAME --service=SERVICENAME --image=docker.io/keptnexamples/carts --tag=0.9.1
Note: This command does not send the Docker image to Keptn. Instead, Keptn uses Kubernetes functionalities for pulling this image.
Therefore, the used Docker registry has to be accessible from your cluster. For pulling an image from a private registry,
we would like to refer to the Kubernetes documentation.
Furthermore, please note that the value provided in the image flag has to contain your Docker registry. The only exception is docker.io because
this is the default in Kubernetes and, hence, can be omitted (e.g., --image=docker.io/mongo is the same as --image=mongo).
keptn send event
To send an arbitrary Keptn event the send event command is provided. An event has to follow the Cloud Events specification in version 0.2 and has to be written in JSON. Then the event can be passed in by referencing the JSON file (--file). Additionally, this command offers the --stream-websocket flag to open a web socket communication to Keptn. Consequently, messages from the receiving Keptn service, which processes the event, are sent to the CLI via websocket.
Note: This command requires precise Keptn event definitions as defined find here.
keptn send event --file=FILEPATH --stream-websocket
keptn version
To show the current version of the Keptn CLI, the version command is provided.
keptn version
keptn uninstall
To uninstall Keptn from a cluster, the uninstall command is provided.
This command does not delete:
- Istio
- Tiller
- Dynatrace monitoring
- Prometheus monitoring
Besides, deployed services and the configuration on the Git upstream (i.e., GitHub, GitLab, or Bitbucket) are not deleted. To clean-up created projects and services, instructions are provided here.
Note: This command requires a kubernetes current context pointing to the cluster where Keptn should get uninstalled.
keptn uninstall
Built with  by Dynatrace